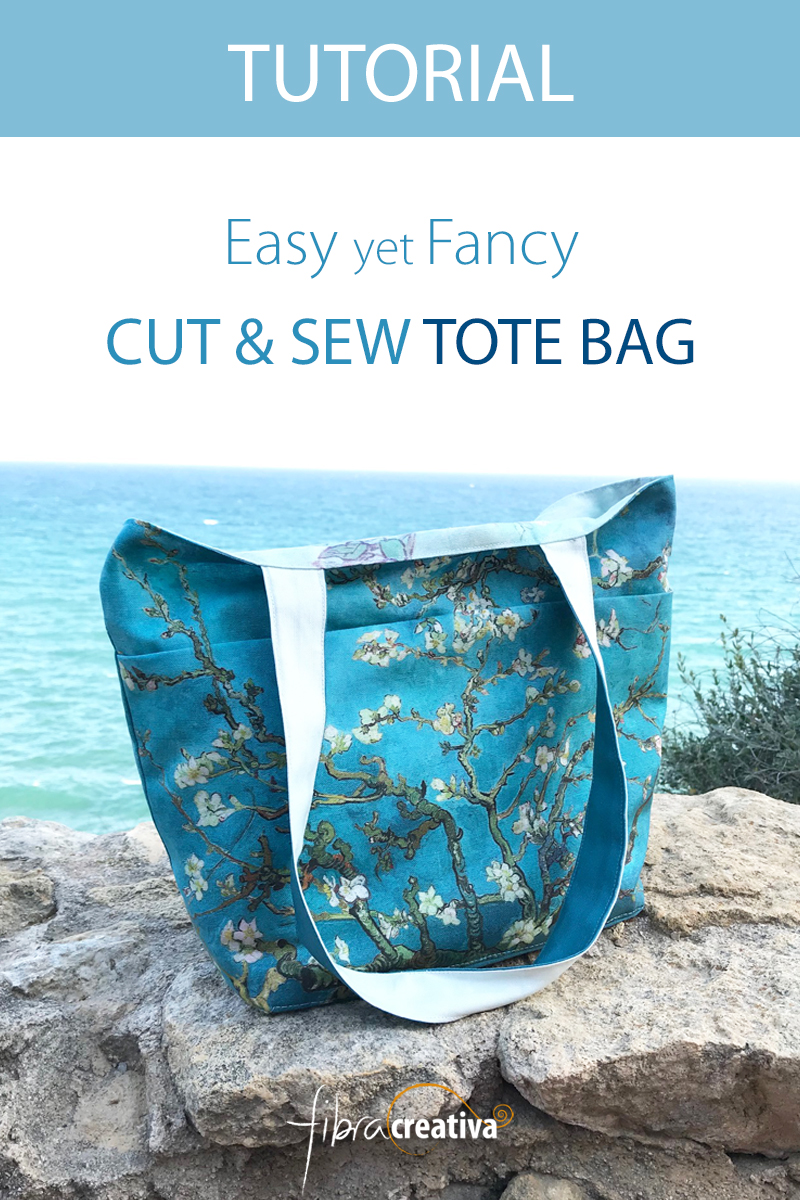
Este tutorial explica como realizar une hermoso bolso tote de arte con un panel de tela listo para cortar y coser de Fibra Creativa.
Aucun patron n’est requis pour ce projet, pas besoin non plus de mesurer ou tracer. Toutes les pièces du sac sont imprimées sur le panneau de tissu, pour commencer à couper et coudre sans plus attendre.
Fournitures pour réaliser le sac cabas
Vous avez essentiellement besoin besoin d’un panneau prêt à coudre Sac Fourre-tout, à choisir parmi plusieurs modèles dans notre boutique.
Panneau de tissu imprimé prêt à coudre
Le panneau de tissu pour sac mesure 140×90 cm et comprend toutes les pièces nécessaires à la couture du sac :
- 2 côtés extérieurs et fond du sac
- Une grande poche extérieure du mème imprimé que le côté.
- 2 pièces de côté et le fond pour la doublure
- Poche intérieure
- 2 anses
Les panneaux Fibra Creativa sont imprimés sur commande, ce qui nous permet d’offrir un choix de tissus :
-
La Toile lin / coton, 215 gr/m2, parfaite pour réaliser un sac solide, avec une certaine tenue, est facile à coudre. Vous pouvez obtenir plus de rigidité en ajoutant un entoilage.
-
Le sergé de coton Denim, 395 gr/m2, est idéal si vous préférez un sac avec une belle tenue sans avoir à entoiler. Ce tissu plus épais se oud avec une aiguille pour jean.
Autres fournitures
Aucun patron n’est nécessaire. Vous avez seulement besoin de fil à coudre, et optionnellement :
- Entoilage (50 cm environ) si vosu souhaitez un sac plus rigide, selon le tissu choisi.
- Fermeture à glissière, boutons, pressions… Dans ce tuto, nous utilisons un zip de 16cm pour la poche intérieure et une pression pour la poche extérieure.
N’hésitez pas à personnaliser votre sac en ajoutant d’autres fermetures, si vous le souhaitez.
How to sew your tote bag
There are various techniques to sew a tote bag. Here I explain what I find to be the simplest fool-proof way (after testing a few ways) to make a beautiful tote bag complete with pockets and lining from my cut & sew panels.
Experienced bag makers might want to do it their own way, that is totally fine!
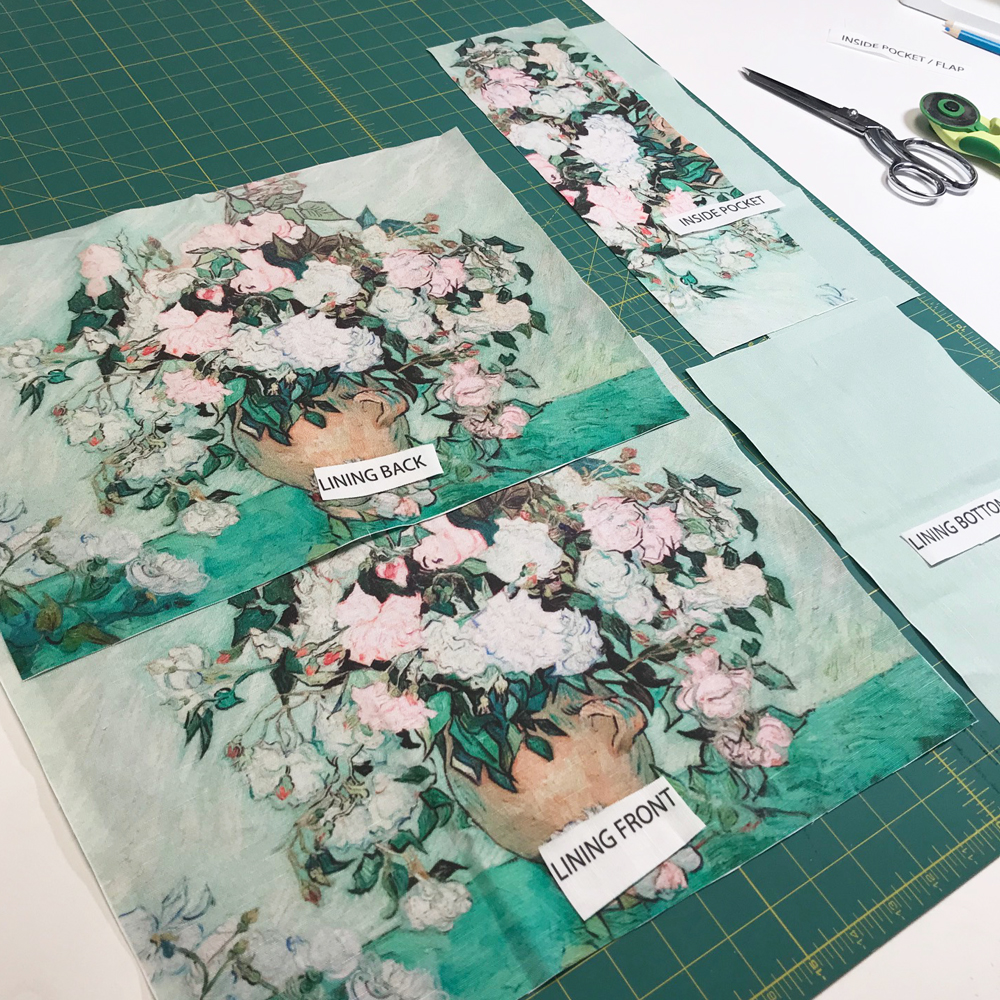
A. Cut out all the bag pieces from the panel
Cut out all the pieces, exactly on the borderline, using sharp scissors or a rotary cutter. A 1/2-inch (1,2 cm) sewing allowance is included.
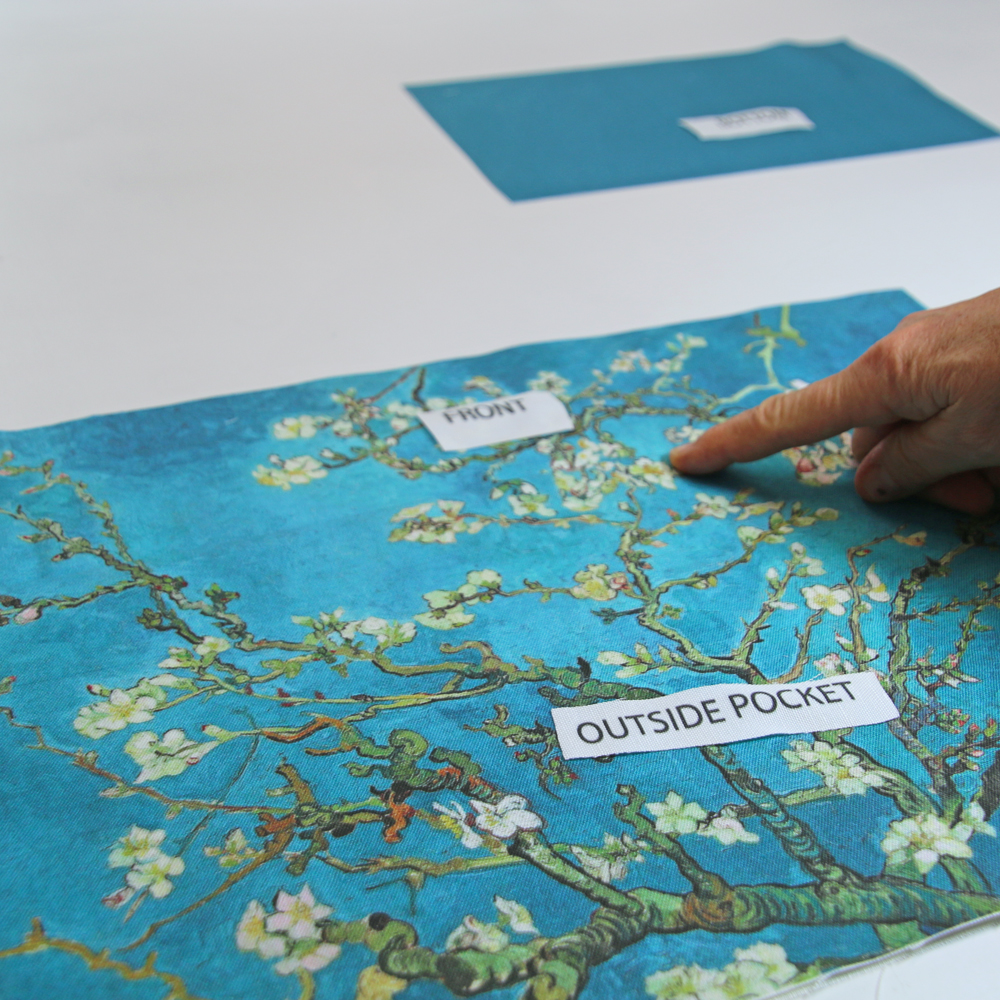
Tip: Each piece has their name printed next to it. Using the names of the bag pieces as labels makes it easy to identify all the parts.
If you want to use fusible interfacing to make your bag stiffer, cut the interfacing using the pieces as a pattern, then trim 1/2″ smaller on all sides. Fuse the interfacing before you start sewing.
B. Prepare the pockets
This tote bag has 2 pockets: an outside overlapping pocket and a zipped inside pocket. You need to prepare the pockets before assembling the bag pieces. If you want to add snaps or other fastenings, this is also the right time.
B1. Zipped inside pocket
Take the LINING BACK, the INSIDE POCKET and the 7″ (18 cm) zipper.
If you’ve never done this, this tutorial by Professor Pincushion explains the steps very well.
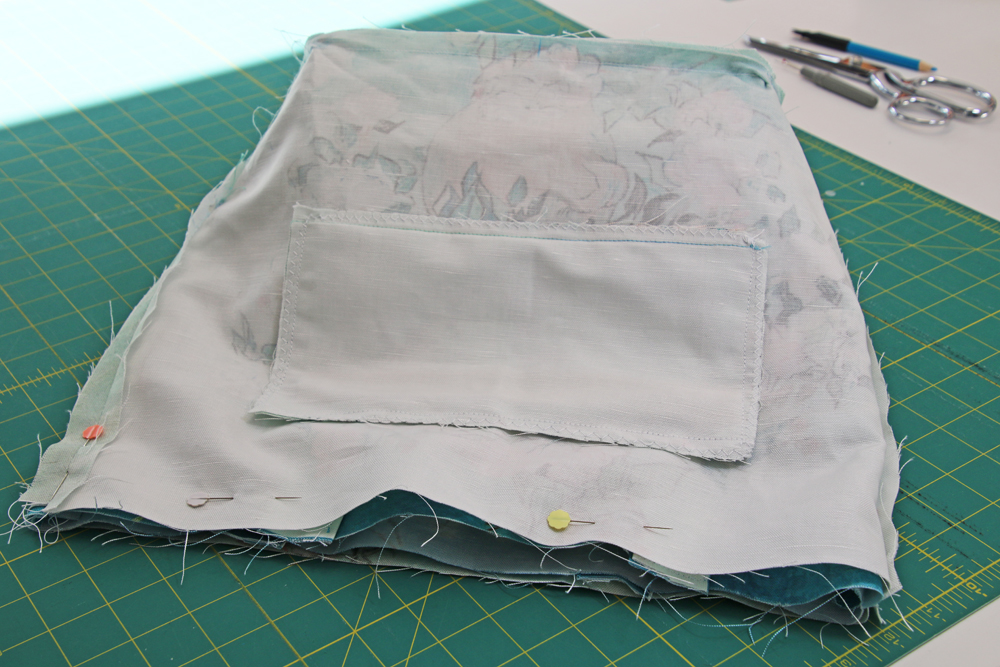
On the back of the pocket piece, 1″ from the top, trace centered horizontal lines to mark the place of the zipper. Pin the pocket piece to the lining panel, about 2 or 3″ from the top. Stitch around the zipper markings.
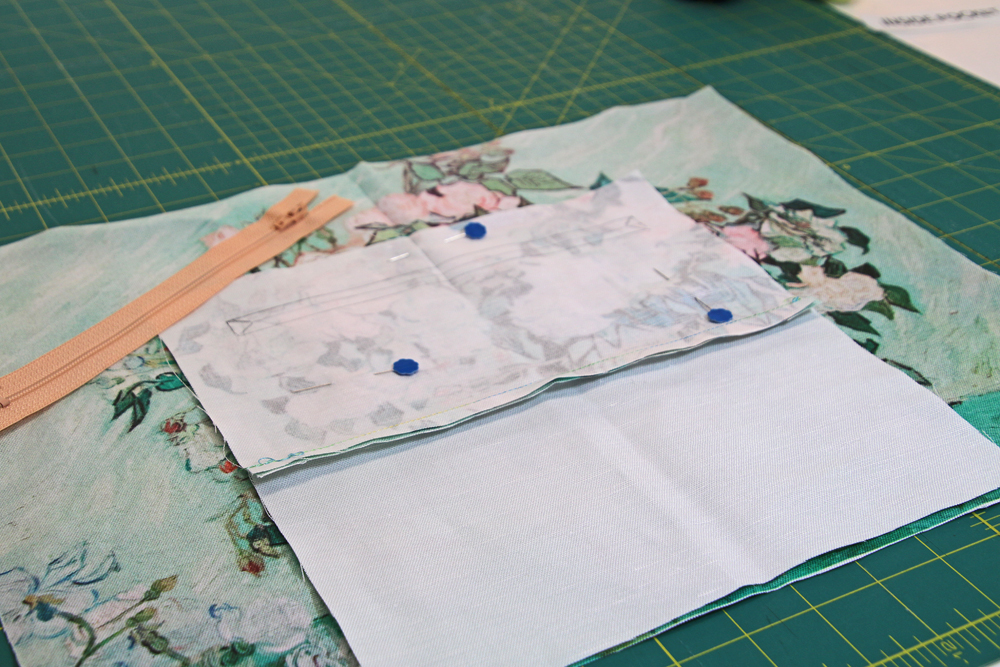 Now cut the enter line open and turn the pocket over. Press the seams well on the front side of the lining panel. Pin the zipper in place, and stitch all around it. Reserve the lining until step C.
Zipped pockets are convenient, but if you want to to keep it very simple, you can stitch the pocket piece on top of the lining panel. Quick and easy.
B2. Overlapping outside pocket
In this step, you will use the the FRONT bag piece and the OUTSIDE POCKET.
First, fold the OUTSIDE POCKET wrong sides together, so you see one print on each side, and press. Top stitch along the fold.
If you prefer to under stitch the top of the pocket, fold right sides together. Stitch 1/2″ (or 1 cm) from the fold. Now under stitch, catching the lining and the 2 seam allowances together, and press.
If you want to add a snap to close the pocket, now is the right time.
Now place the OUTSIDE POCKET on top of the FRONT of the bag, both right sides up, align the 2 sides and the bottom. Adjust until the 2 images align exactly at the top of the pocket (where my finger points on the photo). Pin or baste in place and set aside. The pocket will be caught in the seams later when you assemble the sides and bottom in step D.
C. Sew the lining
Yep, bag tutorials usually tell you to start with the outside of the bag, seems logical, right? Except here, the lining and the outside are made of the same fabric, just with different prints. So guess what? By sewing the lining first, you get some sewing practice, and any minor glitch will remain hidden inside the bag!
In this step, we’ll attach the 2 LINING sides and the LINING BOTTOM together.
Remember to use a 1/2″ (1,2 cm) stitch allowance.
Take the LINING BACK to which you added the pocket, mark the center of the bottom side.
An easy way to mark the center: fold fabric in two and press with your fingers to create a crease.
Take the LINING BOTTOM and mark the center of one long side. Align the center of the two pieces, right sides together, pin and stitch starting 1/2″ from the beginning and stopping 1/2″ from the end. Now repeat with the LINING FRONT and the other side of the LINING BOTTOM. You will now have the 2 lining sides attached, images facing in opposite directions, with the bottom in between. Press the seams towards the BOTTOM.
Now fold the LINING FRONT and BACK to align right sides together. Pin, then stitch one side. Stitch the other side in the same way, leaving a 4″ (10cm) opening in the middle. This opening will be used later to turn over the bag, so don’t forget it or you’ll have to take out some stitches. Press the seams open.
Now the lining is almost ready, except it has 2 openings on each side of the LINING BOTTOM. Pin these openings and stitch carefully. This is the only slightly delicate part. Press the seams towards the bottom.
D. Sew the outside of the bag
The outside of the bag is assembled in the same way as the lining, so you already know how to do it. Just repeat.
As a reminder, you will now use the bag FRONT, BACK and BOTTOM pieces. Attach first the BOTTOM to the FRONT (which has the OUTSIDE POCKET pinned or basted to it), catching the bottom of the pocket in the seam, then attach the BACK.
Now stitch the sides together, this time without leaving any opening. Close the BOTTOM as in step C. Top stitch all around the bottom if you wish.
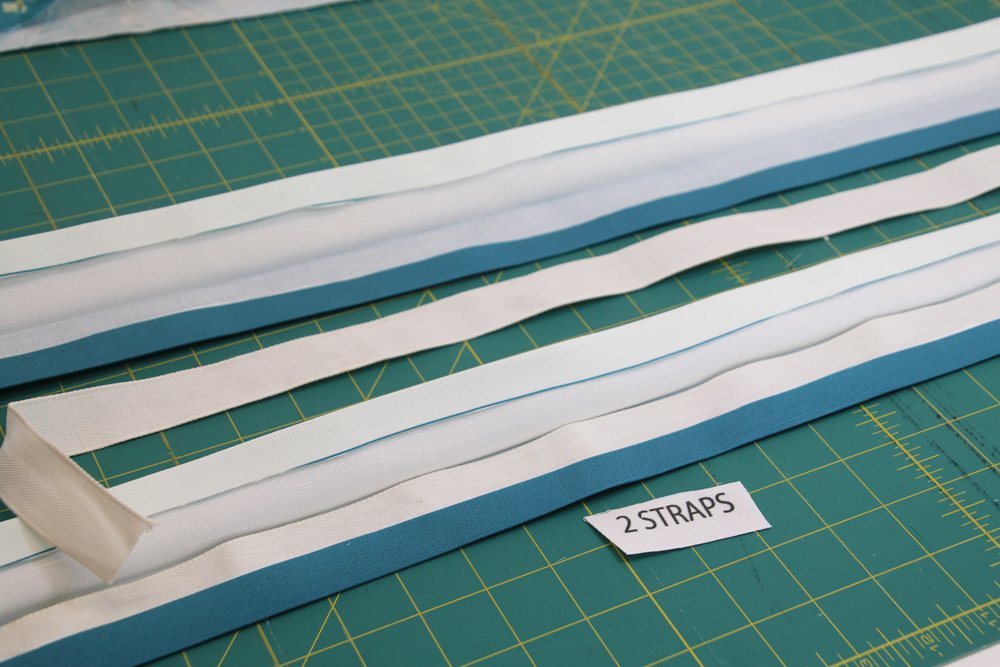
E. Prepare the straps
Fold the long STRAP piece in the middle and cut so you get 2 identical pieces of fabric.
Fold 1/2″ along each long side, press, then fold in the middle lengthwise and press well again. On the photo below, I have added a stiff ribbon inside the straps at this stage, for extra strength. If you do this, choose a ribbon that is slightly narrower than the folded strap, and cut it a couple of inches shorter.
Top stitch the straps on each long side.
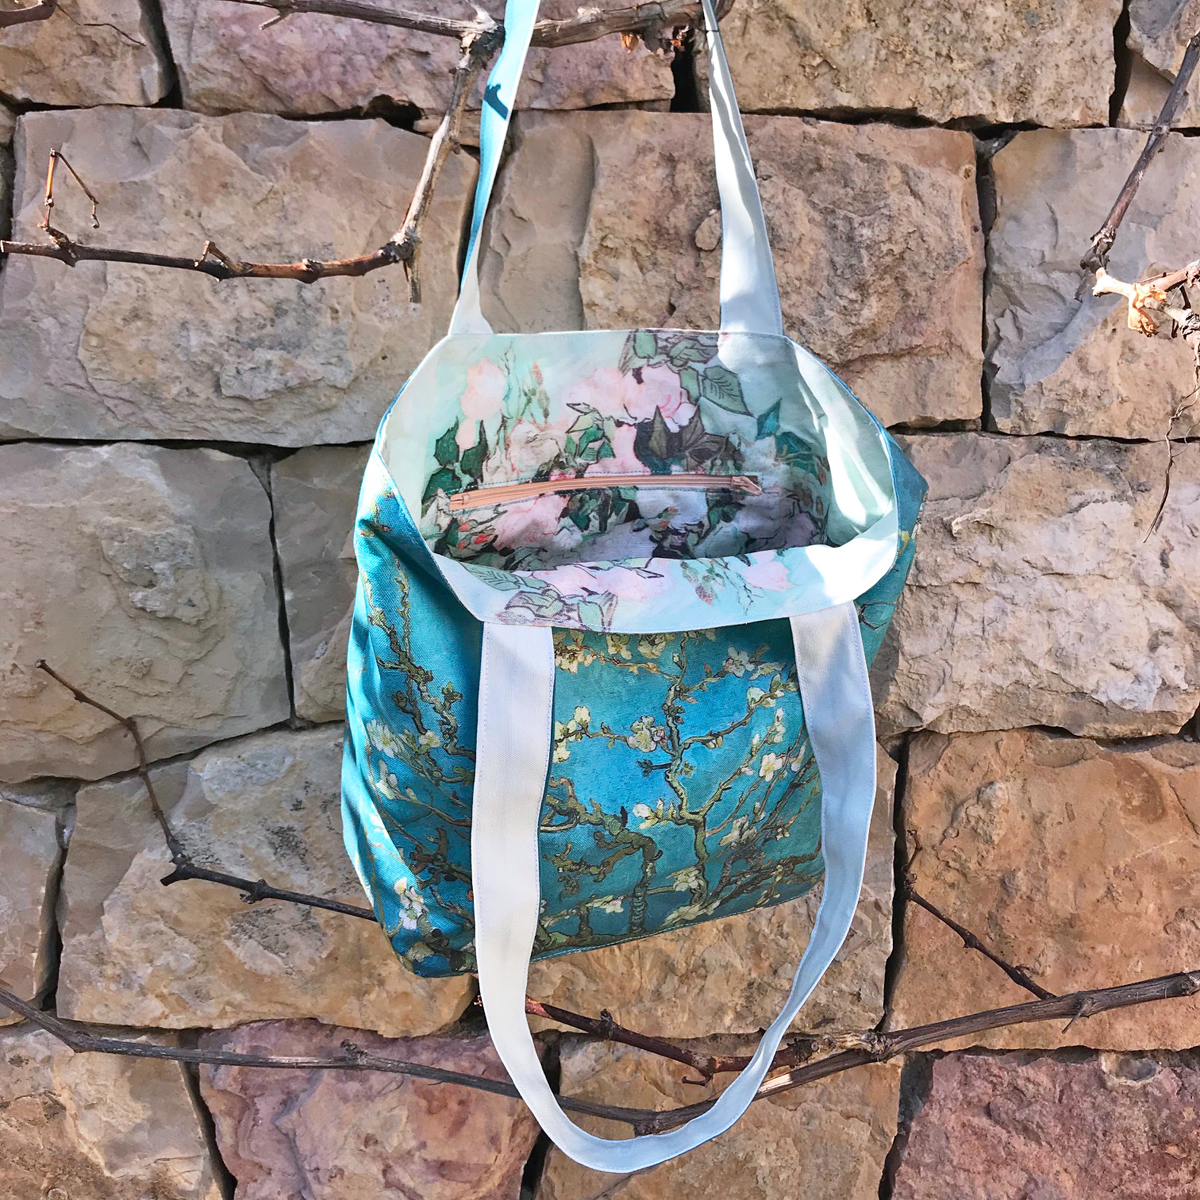
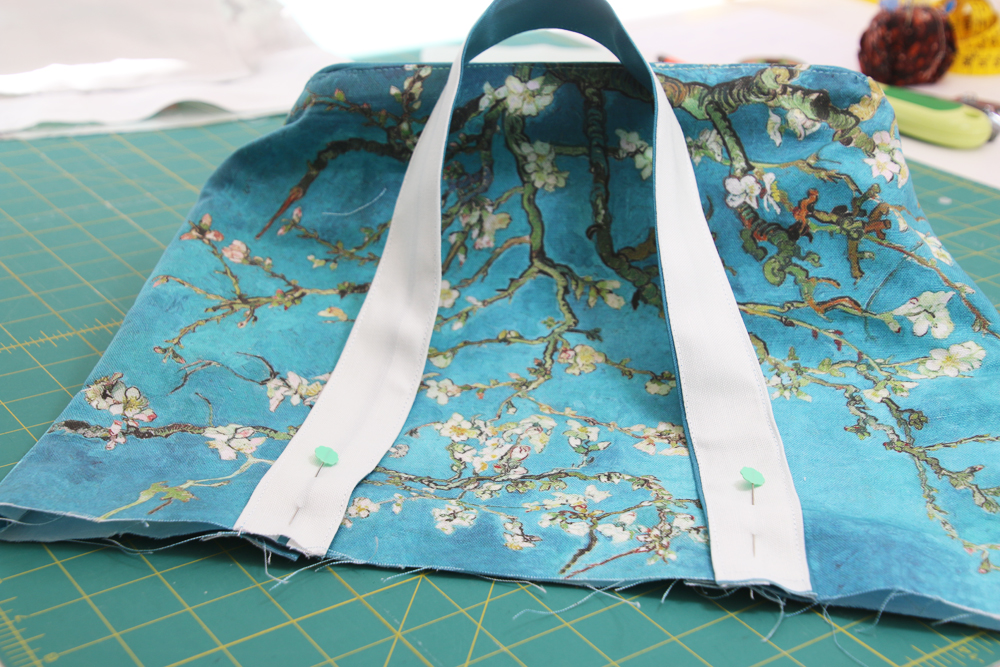
F. Assemble your tote bag
In this final step, you’ll assemble your tote bag.
First, pin the straps to the bag as shown below, about 4″ (10cm) from the side seams.The length of the straps can be adjusted at this point, by cutting them a little if you wish shorter bag handles.
Now pull the lining (wrong face visible) over the outside of the bag (right face visible). Make sure to align the side seams and pin.
Check that the inside out outside pockets are on opposite sides of the bag, to avoid getting all the extra bulk on the same side later when using the bag.
Stitch all around the top of the bag, using a 1/2″ seam allowance.
Now turn the whole bag over though the opening you left in the lining. Push the lining inside the bag. Press the top seam and top stitch.
That’s it! Enjoy your new tote bag!